
Supplies
1 of 8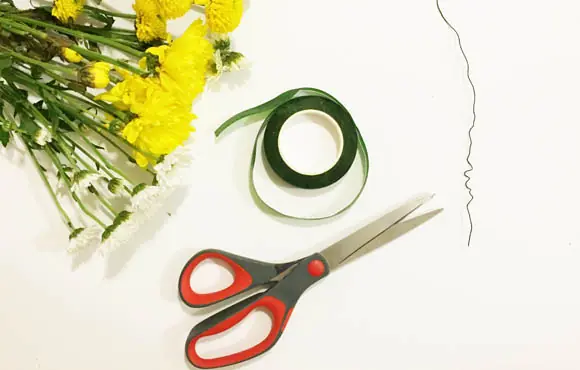
You will need:
- Flowers of your choice
- Floral tape (found at craft shops)
- Scissors
- Thin, malleable wire
Step 1
2 of 8
Measure your child's head with the wire. Make sure to measure a circle small enough that it won't slip down onto your child's face. Cut the wire to the correct length and twist the ends together to create a circle.
Step 2
3 of 8
Use your floral tape to cover the wire completely. The tape sticks best if you pull the tape tightly as you wrap it around itself. You may find it easiest to cut long strips of tape and wrap one piece at a time. Be sure to cover the twisted section well to make sure no wire pokes out.
Step 3
4 of 8
Trim your flowers. You will want to keep 2 to 3 inches of stems at the base of each flower.
Step 4
5 of 8
Now you'll begin to create the crown. Take one flower or a small group of flowers and lay it along the tape-covered wire. Grab a strip of floral tape and tightly wrap it around the flower and wire. Be sure to pull tautly so the tape sticks and the flower is strongly secured.
Step 5
6 of 8
Continue adding flowers around the crown. In this example, we created a partial flower crown to be worn on the side of the head using seven flowers. (Note: For a full crown, you will want to collect at least 30 flowers. For a greenery crown, you'll need enough leaves or ferns to fill the full circle.)
Step 6
7 of 8
Situate the crown on your child's head. Now, he or she has a fun crown to wear for the day! With fresh flowers, your crown should last for up to a week.


Discuss This Article